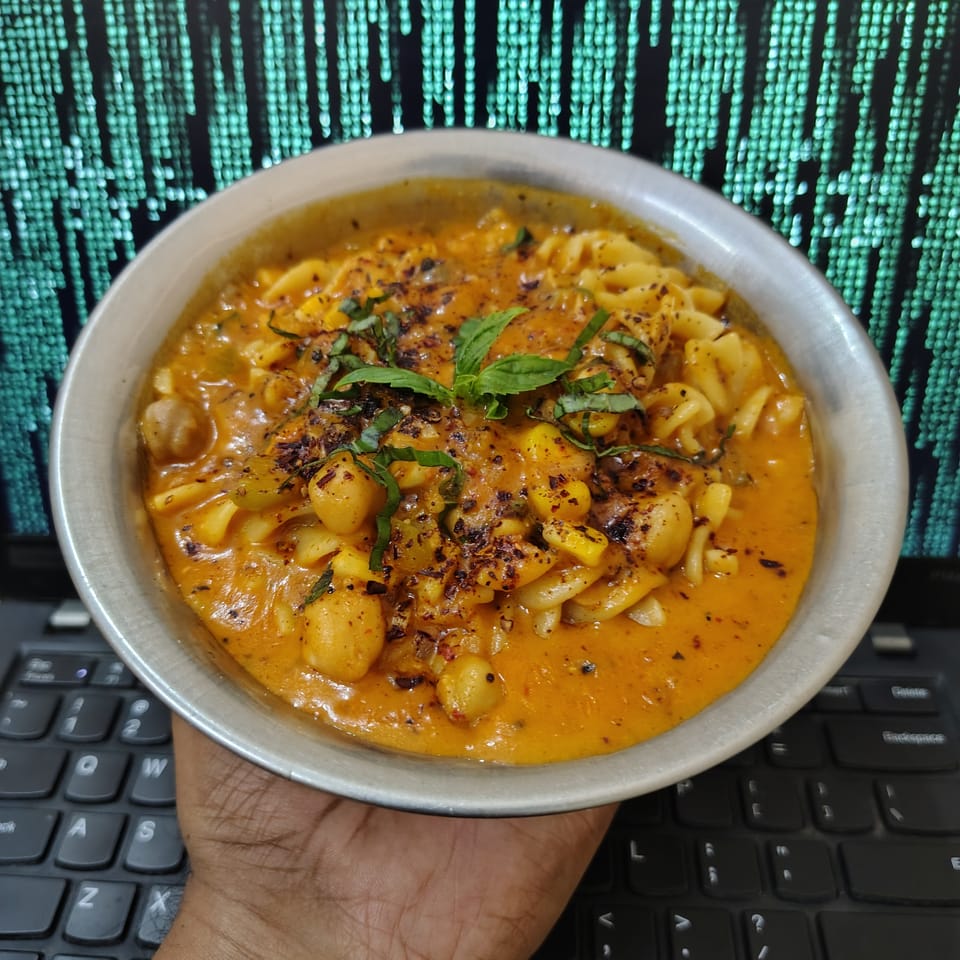
Encryption For The Masses by Let’s Encrypt
Let’s Encrypt brings Open, Free SSL Certificate to make encryption possible for the masses.
In case you missed the chatter, Let’s Encrypt is a new Certificate Authority providing Free SSL Certificate by automated process and best of all, Open.
Which means, you don’t need to pay for a Certificate for your Site to get a Certificate issued, you can use the Free SSL Certificate provided by Let’s Encrypt.
If you can’t wait till December 3, 2015 – by then they will be open for their Public Beta go ahead and Sign Up for their Limited Closed Beta.
I signed up two weeks ago, got my Closed Beta invite whitelisting few domains, two days ago and decided to play with it today.
Their client makes it pretty easy for one to get the Certificate and in few minutes you have your server up and running with SSL – Following these steps might make it much easier.
Installing Git
If you don’t have git installed already, you’d need it.
sudo apt-get update
sudo apt-get install git
That should get git installed in your server and before you begin, stop nginx – This would throw errors as the it would prevent from binding to port 80
Stopping Nginx
sudo service nginx stop
Downloading Let’s Encrypt Client
Now let’s move towards some real action by downloading the Let’s Encrypt Client
git clone https://github.com/letsencrypt/letsencrypt
cd letsencrypt
Generating Let’s Encrypt Free SSL Certificate
The nifty letsencrypt-auto tool is used to update and manage dependencies in a Python Virtual Environment. You can run the command as a normal user and it will prompt when there is a need for su permissions.
./letsencrypt-auto certonly -a standalone –server https://acme-v01.api.letsencrypt.org/directory –agree-dev-preview
Running this would set up the environment and install dependencies and you’d be asked for your email address for notifications and Key Recovery.
It would next ask you read the Terms of Service and you’d have to Accept to proceed.
Next you’d be prompted to input your domains that were whitelisted and emailed to you. You can separate them using commas or spaces. Alternatively, you could specify them in the command by using the -d your_domain.tld – That’d look like this:
./letsencrypt-auto certonly -a standalone -d your_domain.tld –server https://acme-v01.api.letsencrypt.org/directory –agree-dev-preview
After a bit, it would give you the following output:
Updating letsencrypt and virtual environment dependencies…….
Running with virtualenv: sudo /home/user/.local/share/letsencrypt/bin/letsencrypt certonly -a standalone -d your_domain.tld –server https://acme-v01.api.letsencrypt.org/directory –agree-dev-preview
It’ll also tell you where the Certificate and Chain have been saved – By default that is at /etc/letsencrypt/live/your_domain.tld/fullchain.pem
Using a Strong Diffie Hellman Group
You’ll have to generate a new Diffie-Hellman Group by using the following commands:
cd /etc/nginx
openssl dhparam -out dhparams.pem 2048
That should take about 2-3 minutes to generate a Strong DH Group and you’ll find dhparams.pem in the path /etc/nginx/
Using Mozilla’s SSL Configuration Generator for Nginx
You can use Mozilla’s SSL Configuration Generator to generate nginx Server Block configuration.
Here is the config for updating your nginx.conf or vhost configuration file for nginx:
server {
listen *:80;
listen *:443 ssl spdy;
ssl_certificate /etc/letsencrypt/live/your_domain.tld/fullchain.pem;
ssl_certificate_key /etc/letsencrypt/live/your_domain.tld/privkey.pem;
ssl_session_timeout 1d;
ssl_session_cache shared:SSL:10m;
ssl_session_tickets off;
# Diffie-Hellman parameter for DHE ciphersuites, recommended 2048 bits – Remember we generated this earlier
ssl_dhparam /etc/nginx/dhparams.pem;
# modern configuration. tweak to your needs.
ssl_protocols TLSv1 TLSv1.1 TLSv1.2;
ssl_ciphers ‘ECDHE-RSA-AES128-GCM-SHA256:ECDHE-ECDSA-AES128-GCM-SHA256:ECDHE-RSA-AES256-GCM-SHA384:ECDHE-ECDSA-AES256-GCM-SHA384:DHE-RSA-AES128-GCM-SHA256:DHE-DSS-AES128-GCM-SHA256:kEDH+AESGCM:ECDHE-RSA-AES128-SHA256:ECDHE-ECDSA-AES128-SHA256:ECDHE-RSA-AES128-SHA:ECDHE-ECDSA-AES128-SHA:ECDHE-RSA-AES256-SHA384:ECDHE-ECDSA-AES256-SHA384:ECDHE-RSA-AES256-SHA:ECDHE-ECDSA-AES256-SHA:DHE-RSA-AES128-SHA256:DHE-RSA-AES128-SHA:DHE-DSS-AES128-SHA256:DHE-RSA-AES256-SHA256:DHE-DSS-AES256-SHA:DHE-RSA-AES256-SHA:AES128-GCM-SHA256:AES256-GCM-SHA384:AES128-SHA256:AES256-SHA256:AES128-SHA:AES256-SHA:AES:CAMELLIA:DES-CBC3-SHA:!aNULL:!eNULL:!EXPORT:!DES:!RC4:!MD5:!PSK:!aECDH:!EDH-DSS-DES-CBC3-SHA:!EDH-RSA-DES-CBC3-SHA:!KRB5-DES-CBC3-SHA’;
ssl_prefer_server_ciphers on;
# HSTS (ngx_http_headers_module is required) (15768000 seconds = 6 months)
add_header Strict-Transport-Security max-age=15768000;
# OCSP Stapling —
# fetch OCSP records from URL in ssl_certificate and cache them
ssl on;
ssl_stapling on;
ssl_stapling_verify on;
## verify chain of trust of OCSP response using Root CA and Intermediate certs
ssl_trusted_certificate /etc/letsencrypt/live/your_domain.tld/chain.pem;
#DNS Resolver Configuration
resolver 8.8.8.8 8.8.4.4 valid=86400;
resolver_timeout 10;
#Rest of your server configuration…
}
Starting Nginx
Once nginx or vhost configuration file has been updated, go ahead and start nginx by issuing the following command:
service nginx start
Testing your site loading with brand new Let’s Encrypt Free SSL Certificate
Now head to your browser and open your site and point to your https://your_domain.tld and it will be opening as a Secured Site with a valid certificate.
Using SSL Lab’s SSL Server Test
Finally, for feel good factor head to SSL Lab’s SSL Server Test and enter your domain name, submit and wait for it to give you A+ Rating.